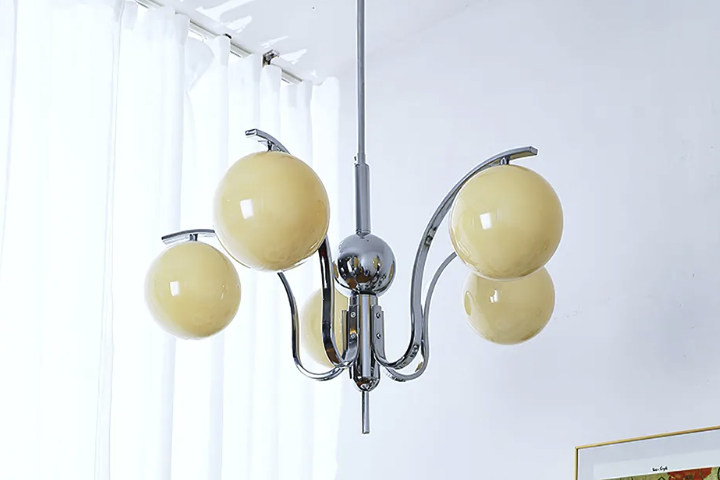
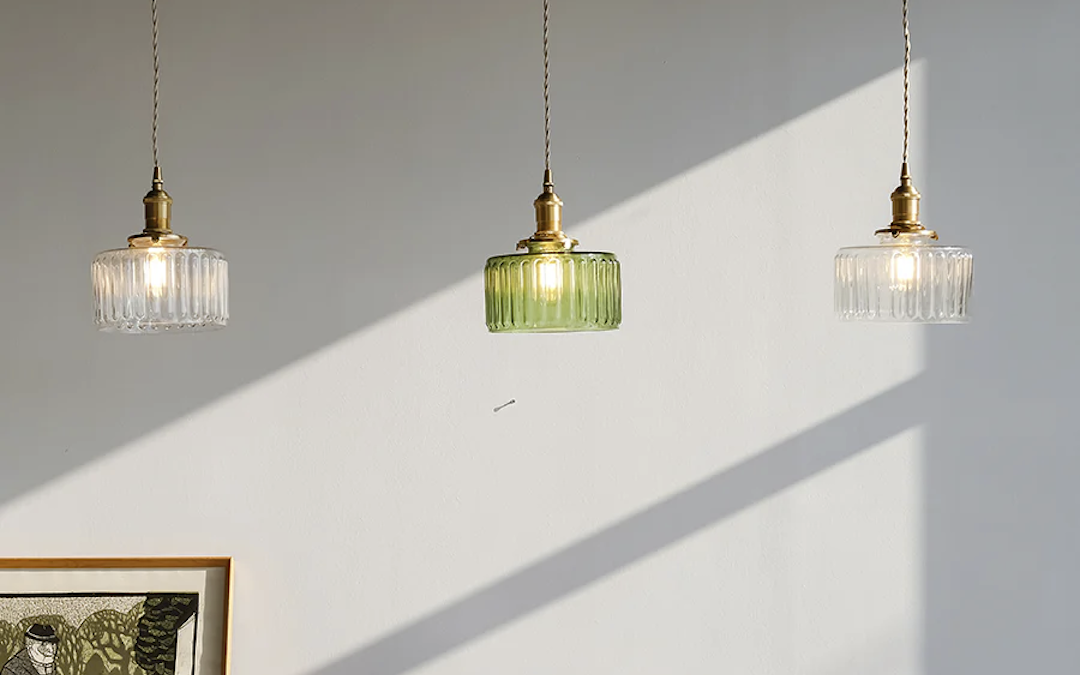
How to Hang a Chandelier: Step-by-Step Guide for a Stunning Lighting Fixture
Introduction
A chandelier is a beautiful addition to any space, but hanging one can be intimidating. However, with some guidance and a few tools, you can easily hang a chandelier on your own. This step-by-step guide will help you hang your chandelier like a pro and achieve the stunning lighting fixture you’ve always dreamed of.
Tools and Materials
Before getting started, you will need the following tools and materials:
- Chandelier
- Step ladder
- Screwdriver or drill
- Wire cutters
- Voltage tester
- Mounting bracket
- Chain and hooks
- Ceiling anchors (if necessary)
- Wire connectors
Steps to Hang Your Chandelier
Step 1: Turn Off Power
Before you begin, ensure that the power to the fixture you will be working on is turned off. This can be done at the main electrical panel of your home. Use a voltage tester to confirm that the power is off.
Step 2: Determine Mounting Bracket Location
Identify where you want to install the chandelier and where the mounting bracket should be placed. Ensure that the junction box is securely fastened to the ceiling and can support the chandelier’s weight. If the junction box isn’t sufficient, use ceiling anchors.
Step 3: Assemble the Chandelier
Refer to the manufacturer’s instructions to assemble the chandelier. Follow the directions carefully to avoid damaging any parts.
Step 4: Connect Wiring
Connect the wiring of the chandelier to the wiring in your ceiling, making sure to match the colors of the wires correctly. Use wire connectors to secure the wires.
Step 5: Attach Mounting Bracket
Attach the mounting bracket to the junction box in the ceiling. Ensure that the screws are tight and secure.
Step 6: Hang the Chain
Hang the chain from the mounting bracket to the desired length of the chandelier. Use hooks to secure the chain.
Step 7: Hang the Chandelier
Carefully hang the chandelier onto the hooks, making sure that it is level. Adjust the chain length if necessary.
Step 8: Install Bulbs and Shades
Install bulbs and shades per the manufacturer’s instructions.
Step 9: Turn on Power and Test
Turn the power back on to the fixture and test the chandelier to ensure it is working correctly.
Conclusion
By following these simple steps, you can hang a chandelier like a pro and enjoy the stunning lighting fixture in your space. Be sure to follow safety precautions to ensure a successful installation. Enjoy your new chandelier!