How to Effortlessly Install a Pull Out Wall Light in Your Home
Introduction
If you’re looking to add some style and functionality to your home’s lighting, a pull out wall light is an excellent choice. These lights are versatile, convenient, and can bring a touch of elegance to any room. Installing a pull out wall light may seem intimidating at first, but with these simple steps, you’ll have your new light up and running in no time.
Step-by-Step Guide
Step 1: Choose the Right Spot
The first step in installing a pull out wall light is choosing the right location. Consider the purpose of the light and the layout of the room. You’ll want to ensure that the light is positioned where it will be most needed and where it won’t interfere with other fixtures or furniture.
Step 2: Mark the Spot
Once you’ve chosen the perfect spot for your light, mark the position on the wall. Use a pencil or marker to make small marks on the wall, indicating the location of the mounting bracket.
Step 3: Install the Mounting Bracket
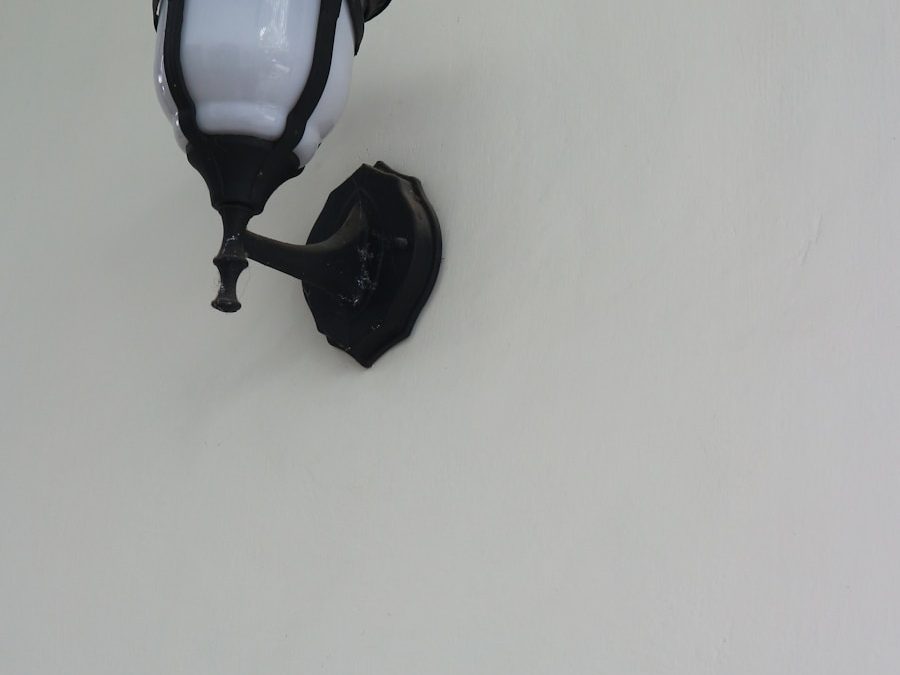
The mounting bracket is the part that attaches the light to the wall. Begin by holding the mounting bracket against the wall, aligning it with the marks you made in step 2. Use a pencil to mark the holes where the screws will go.
Next, use a drill to make pilot holes for the screws. Screw the mounting bracket into place, using the screws provided with your light.
Step 4: Connect the Wires
Carefully follow the instructions that came with your light to connect the wires. Depending on the type of light you’re installing, you may need to connect the wires to a junction box or to the existing wiring in your wall.
Be sure to turn off the power to the circuit you’ll be working on before you begin. Use wire connectors to secure the wires in place and ensure a solid connection.
Step 5: Attach the Light
With the mounting bracket securely in place and the wires connected, it’s time to attach the light to the bracket.
Carefully follow the instructions that came with your light to do this. Typically, you’ll need to attach the light to the bracket using screws or clips.
Step 6: Test the Light
Once your light is securely attached to the wall, turn the power back on and test the light. Check that it’s moving smoothly and that the light switch is operating correctly.


